Improvised Cooking
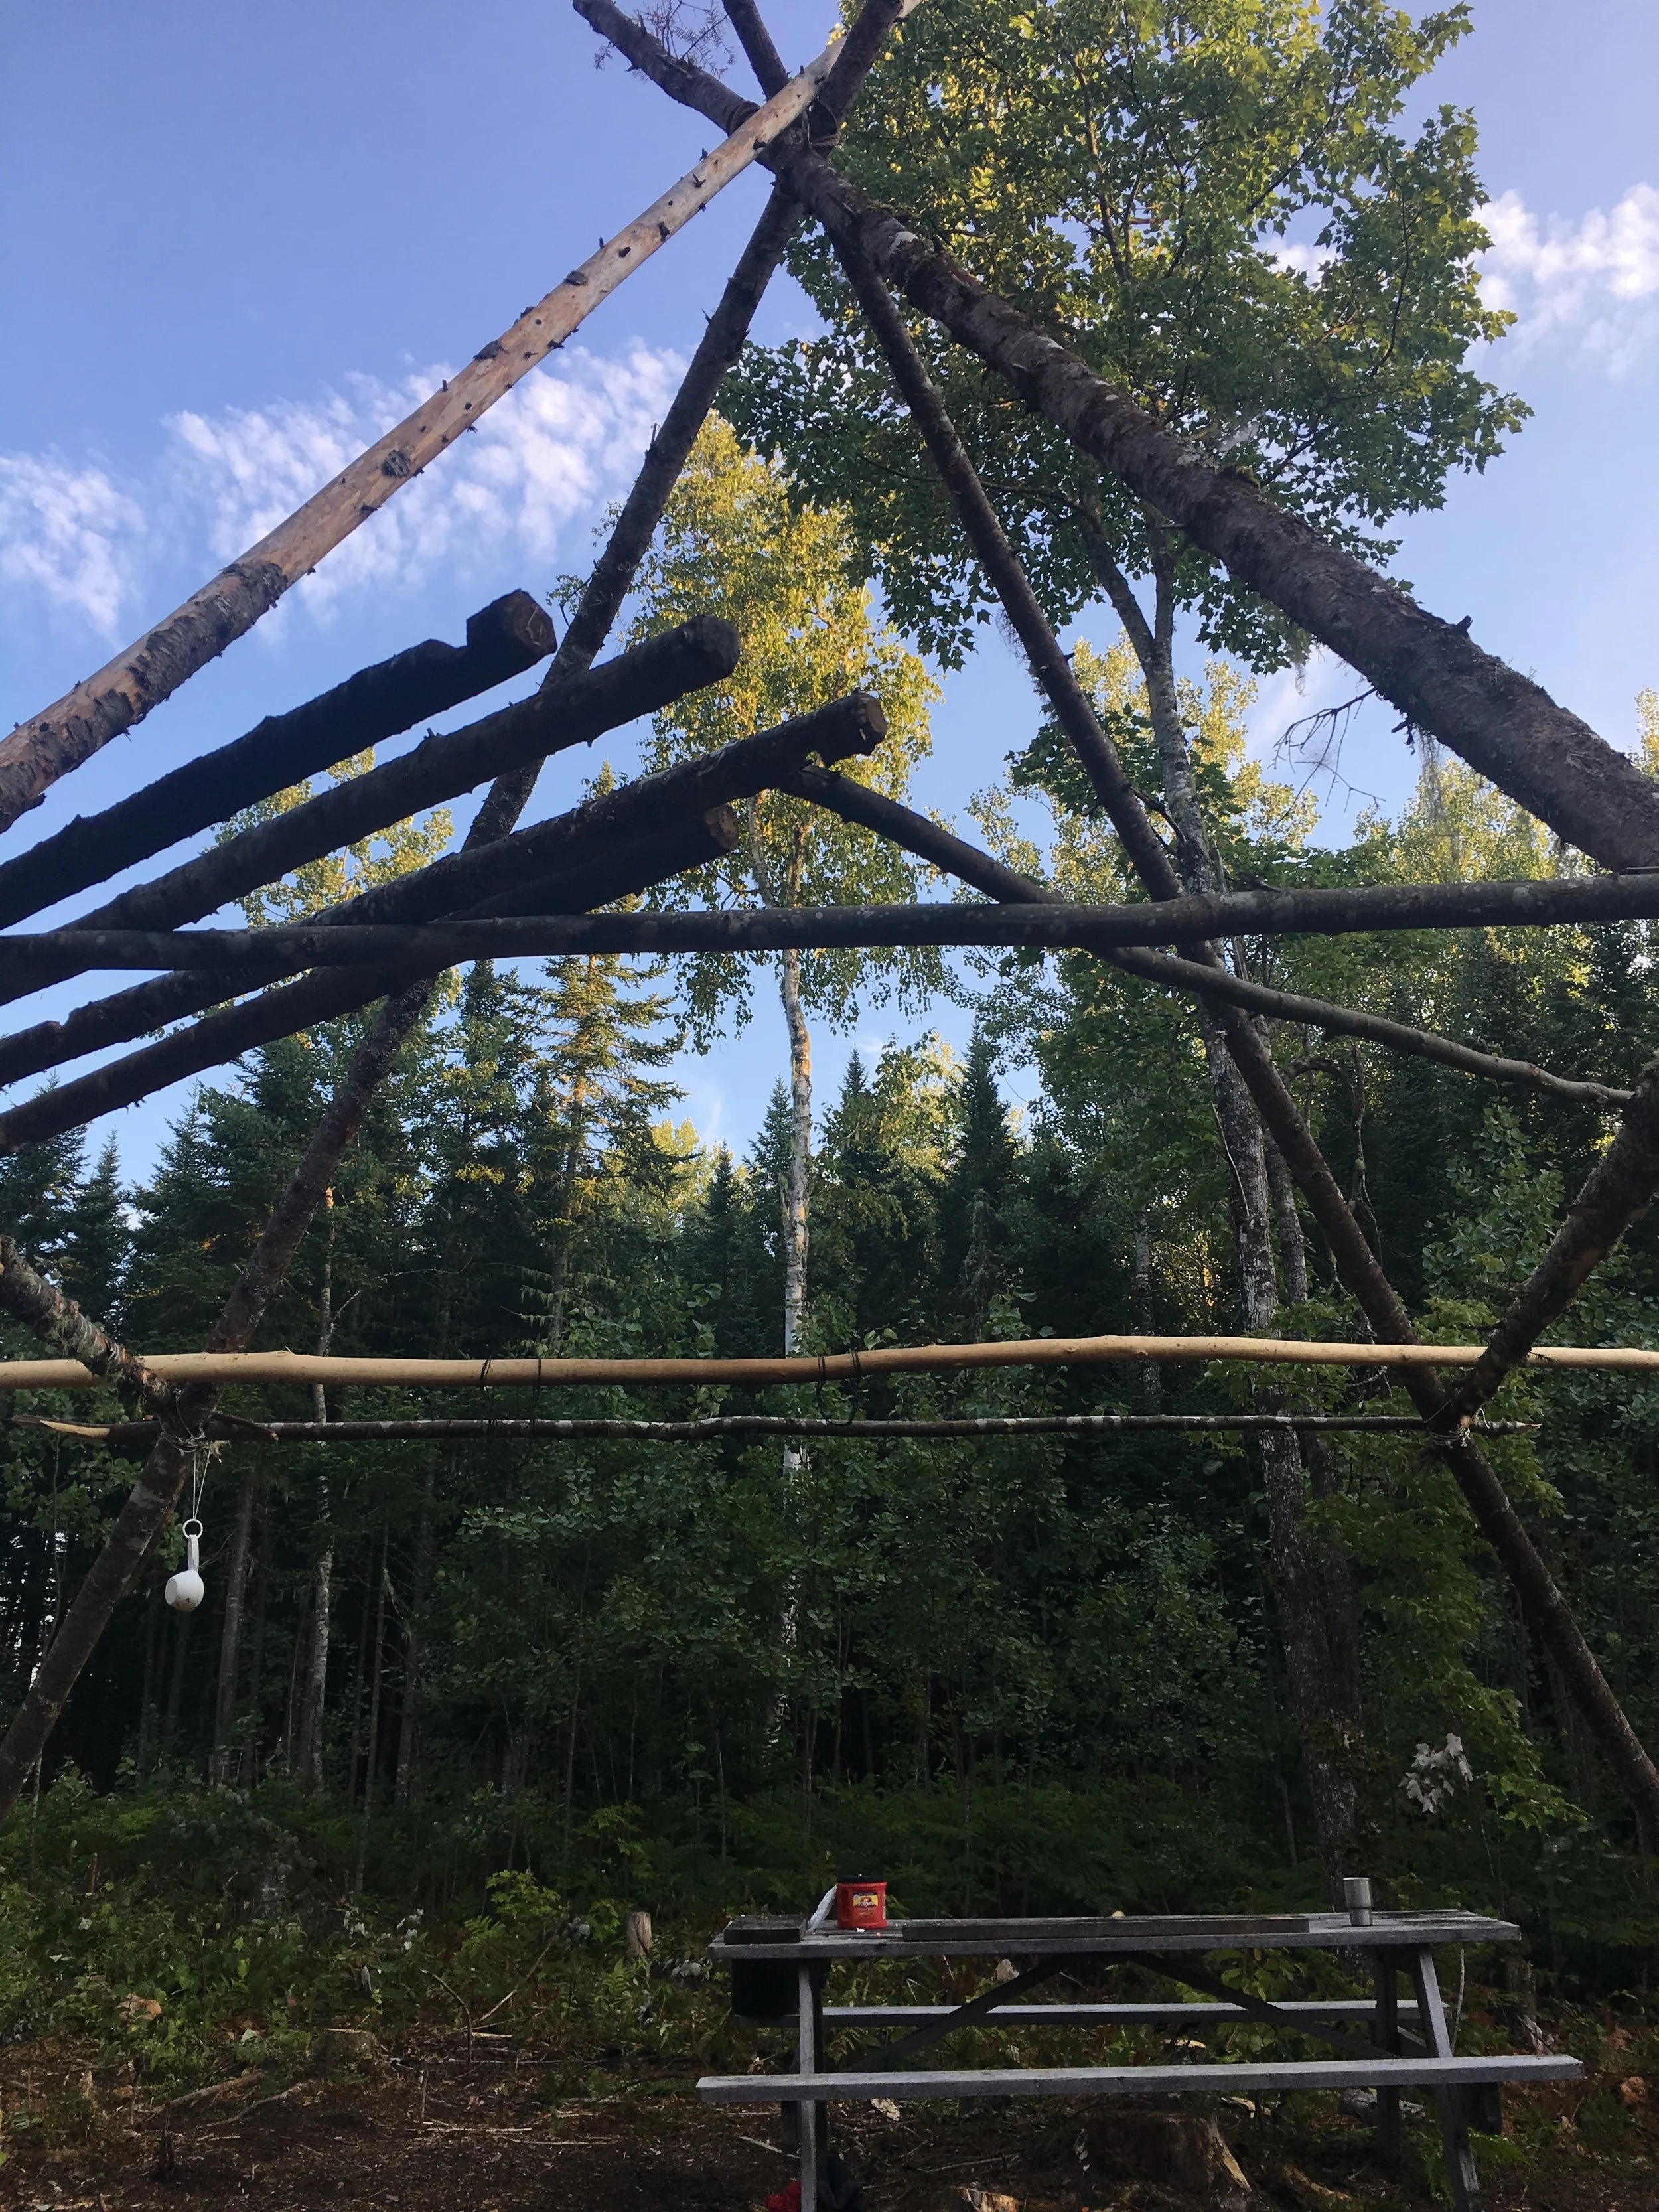
I spent Aug. 10 - Oct. 20, 2018 attending Bushcraft School off the grid in Northern Maine. This post recounts part of that journey.
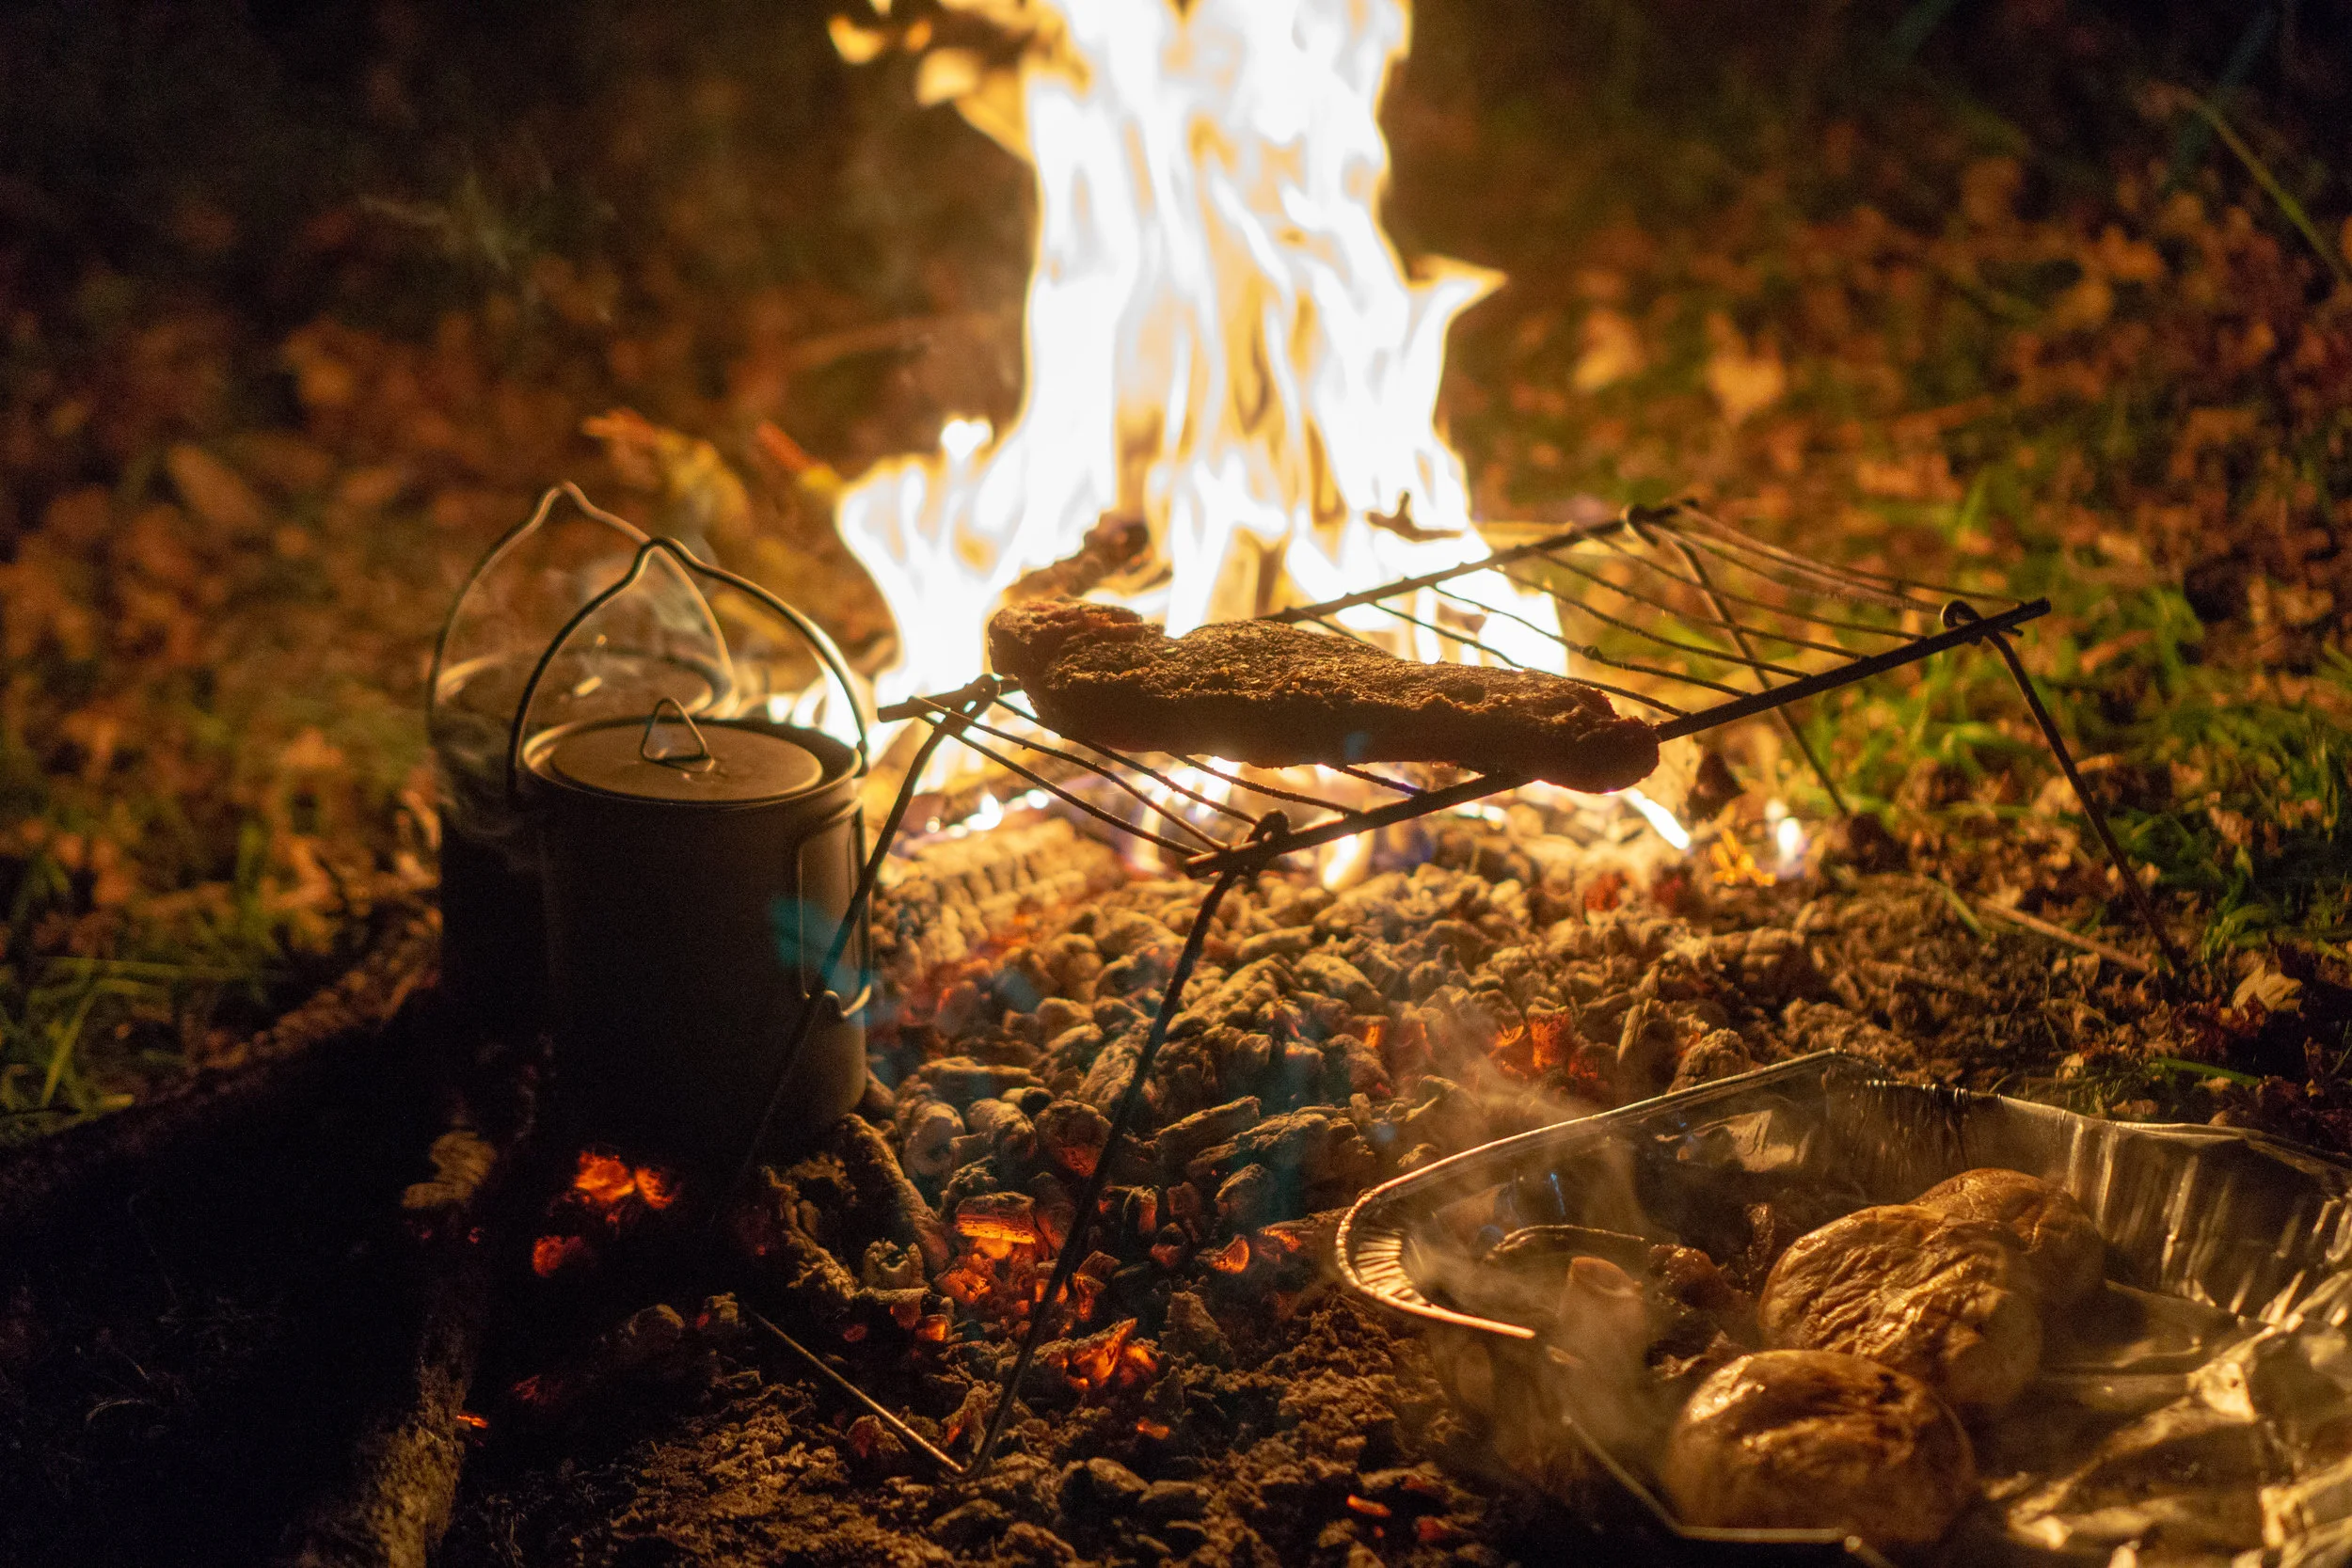
The instructions for cooking almost everything in this world are too well thought out, too exact. Nearly anything you can cook can be made with modifications, hobo style in the back woods with substitutions, inexactitudes and a bit of improvisation.

Camp mac n cheese in a dutch oven with spinach and tomatoes
I ate oats for breakfast nearly every single day in Maine.The mornings are cold and the hot cereal sticks to the ribs and prevents mid-morning hunger pangs. Our instructor, Colin showed us a method for cooking them that involved bringing oats and water to a boil over an open fire to soften. I’m not one for mushy oats. In high school I ate packets of cinnamon apple Instant Quaker Oats dry without cooking them at all. I found the inability to put the exact right amount of water (not burned, but also not drowning in a sea of oat water) maddening. So I experimented. Putting dry oats (and a bit of cinnamon, honey, peanut butter and a cut apple fresh from the tree) in a bowl with enough boiling water to just cover the cereal then covering the bowl for 3 to 5 minutes yields perfectly cooked, not too mushy oatmeal. I liked this method of set it and forget it so much that I use it at home even though I have access to a microwave and stovetop.

This dutch oven weighs 75 pounds and fits enough food to feed 15 people!
One of the best kitchen gadgets for cooking over an open flame is a cast iron Dutch Oven. The ones with handles that you can hang and feet that you can balance on hot coals are the best. There was a night we cooked pork shank, peppers, onions, spices and potatoes in a 75 pound dutch over, cooked it over charcoal in a makeshift cook area surrounded on three sides by cinder blocks. Three hours later 15 people were fed and VERY happy. You can throw pretty much anything in a Dutch and see what happens. The results are always awesome. Choose a protein, add noodles if you like, chop a ton of veggies and add some seasoning. A mixture of spices can work well, jarred sauces or dressing packets and soup mixes all make for an easy one pot meal. Don’t use soap when you’re done! Simply scrub out the crusted on food and wash with water and dry before putting it away. The cast iron seasons adding even more flavor to whatever you cook next time.
I found out that most things don’t need to be refrigerated. Living off the grid, the closest thing to refrigeration we had were coolers and ice. Butter will keep for weeks outdoors. Milk will keep at least 5 days. Eggs will keep for at least a week. Peanut butter, honey, jelly, hard cheese and tortillas don’t need refrigerating at all. Humans survived millennia without access to electricity and thus refrigeration. They likely had stronger and more varied gut bacteria than we do in our antimicrobial, hand sanitized and bleached world. But, hey, that’s what fermented foods are for!

Notes on fermentation and instructions for making kombucha
Fermented foods like Kombucha and Sauerkraut are probiotic rich and great for gut health. I always thought that super-sanitized glassware was required to successful ferment foods as when I was brewing beer, sanitation was of utmost importance. We made Kombucha in a wide-mouthed gallon jug with 6 black tea bags and a cup of sugar. Adding the SCOBY (symbiotic colony of bacteria and yeast) and a quarter cup of finished kombucha is the magic ingratiate to kick the fermentation process into high gear. Let it sit a week in a cool, (but not cold so mold doesn’t grow on it) dark place and then taste it. If it’s sour, it’s done. If it’s too sweet, let it sit a little longer.

Instructions for making sourkraut
Saurkraut is even easier, but you do need an air lock and bung to keep airborne bacteria out of it. Chop a head of cabbage finely to maximize the surface area to volume ratio and salt it in a big metal bowl. 2 tablespoons should do the trick. Pack it tightly into a mason jar and add just enough water to top off the jar and make a brine. After a week or two of sitting in a cool, dark place it should be ready and the air lock can be replaced with a mason jar lid.
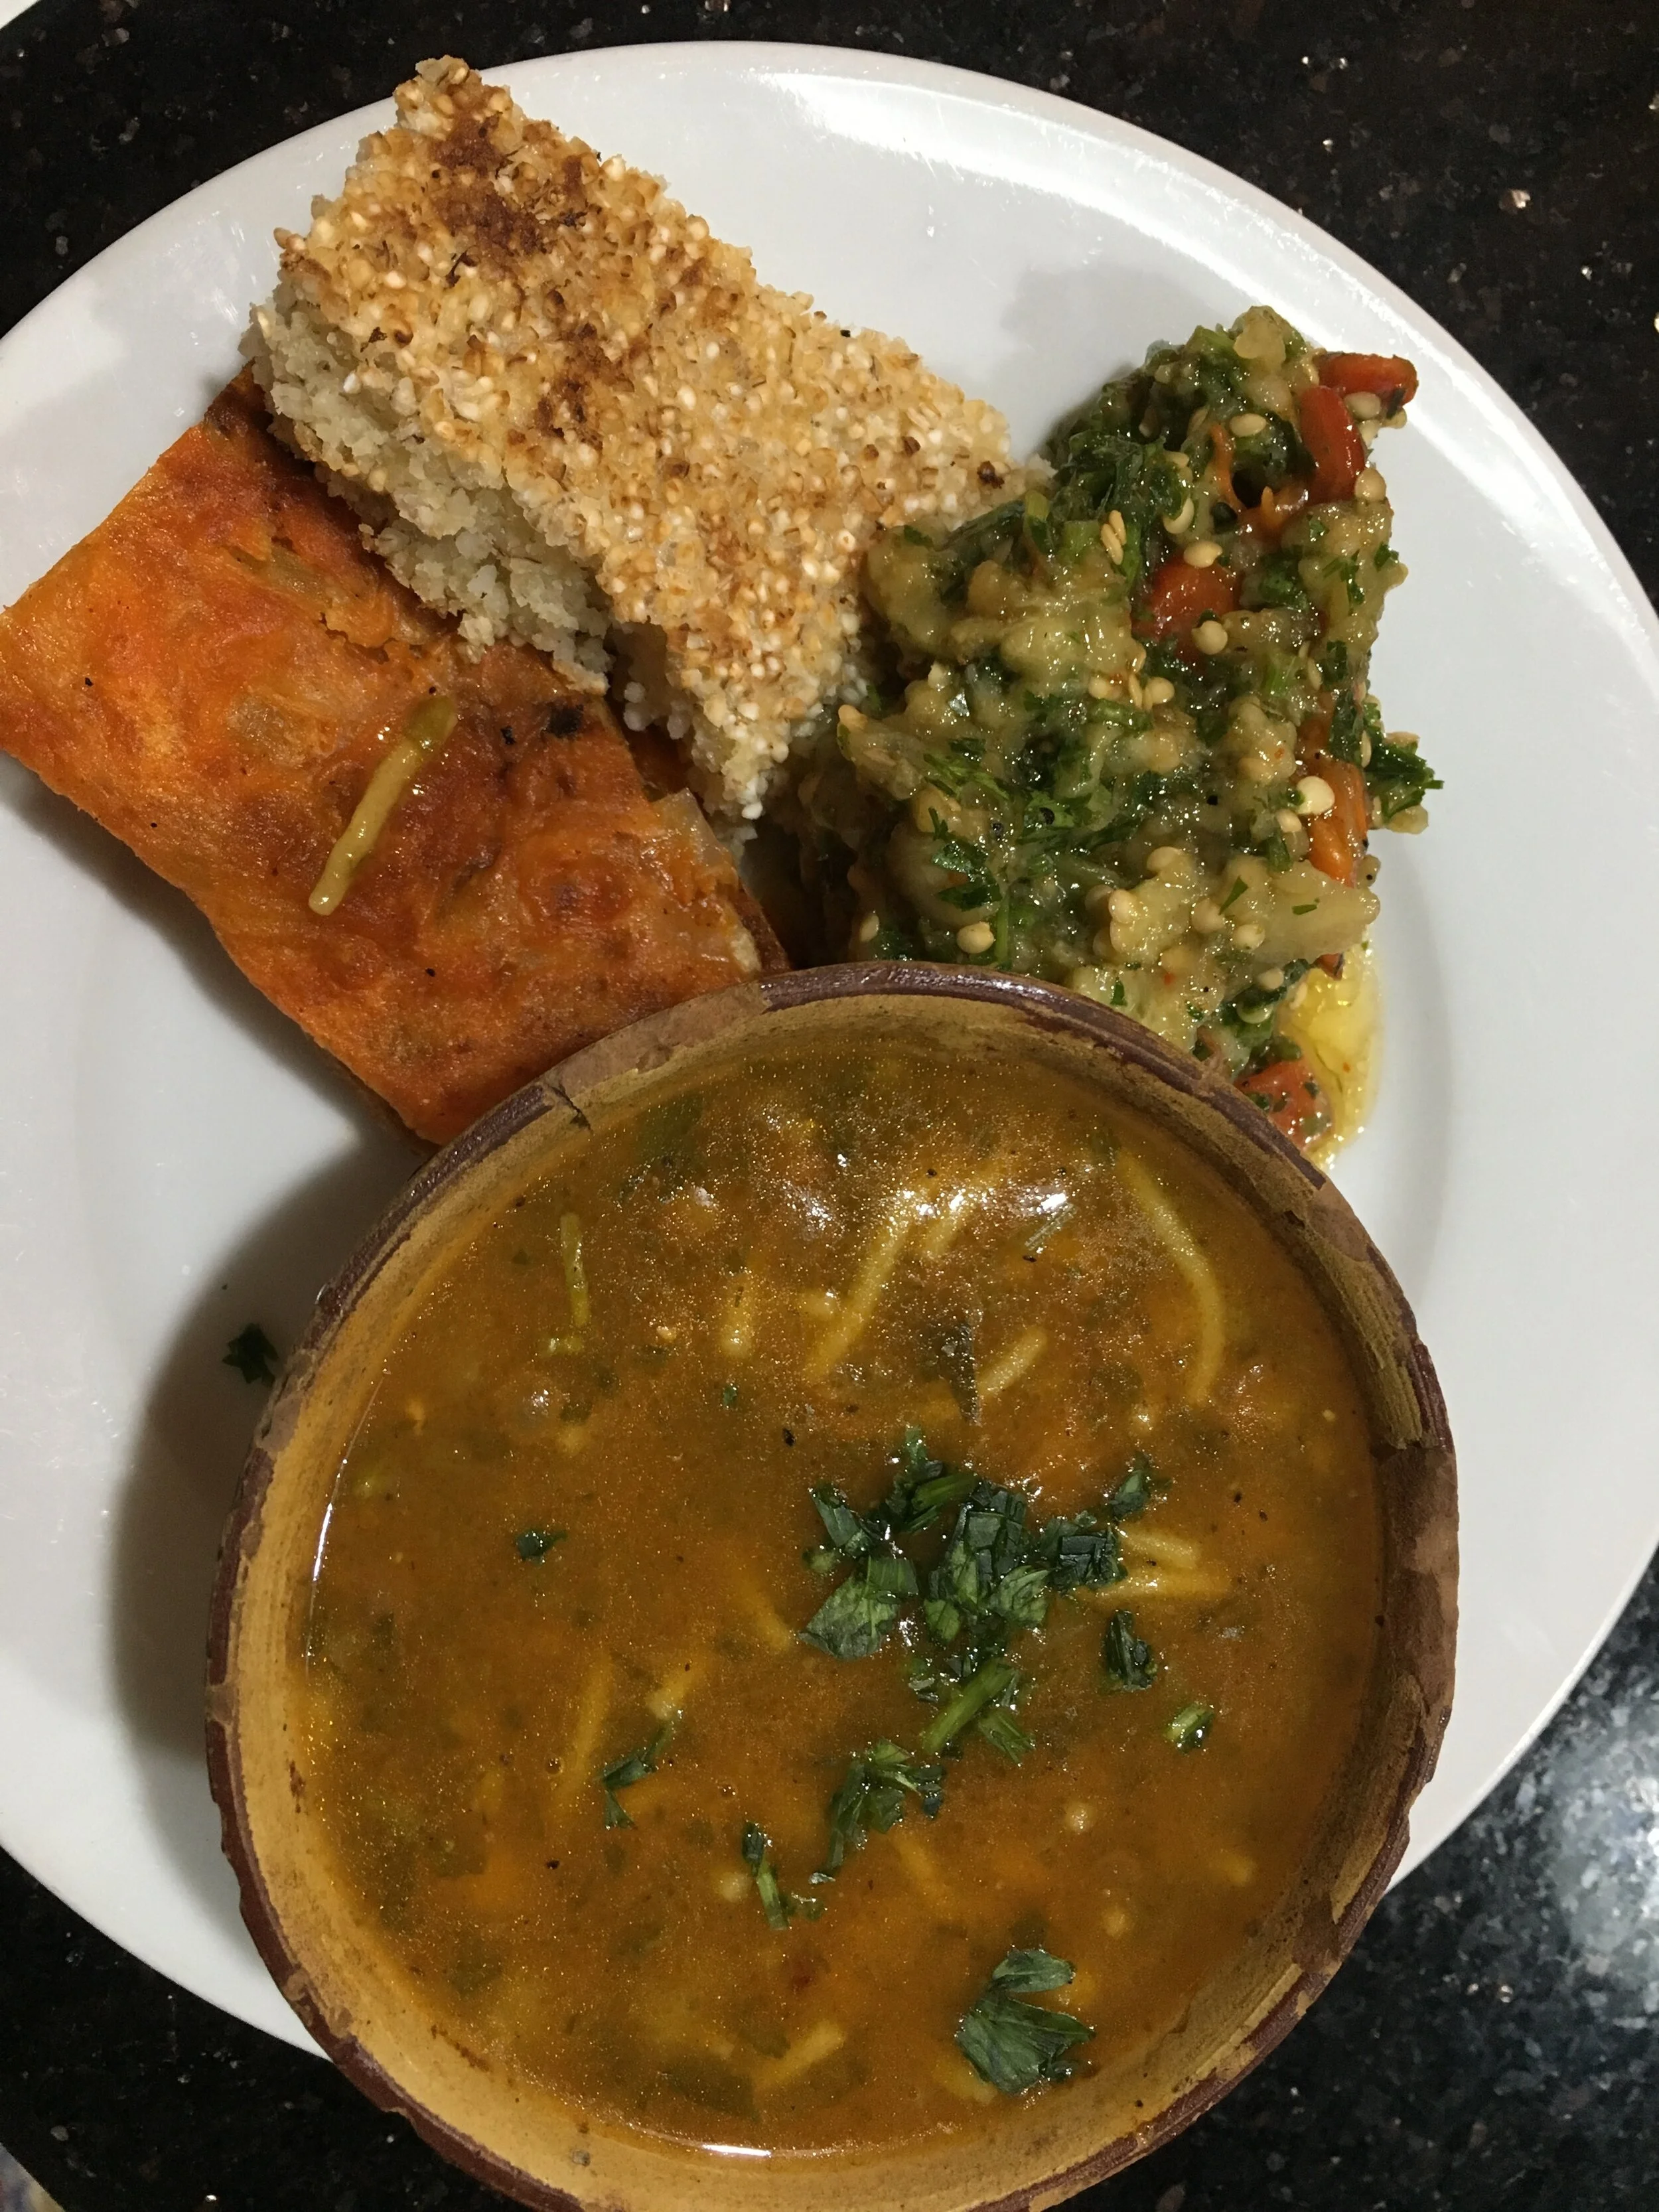
I don’t have a particularly strong stomach and I will say that I didn’t get sick to my stomach once during the 9 weeks of bushcraft school. Cooking conditions don’t have to be perfect to make dishes that are perfectly good